10 min
 1.6K
1.6KTransfer Crypto from Binance to MetaMask: Step-by-Step Guide
Learn how to easily transfer crypto from Binance to MetaMask with our step-by-step guide. Start managing your assets more efficiently today!
My first crypto transfer from Binance to MetaMask back in 2023 felt like trying to send a postcard to Mars—technically possible but absolutely terrifying. 😅 I remember staring at my screen, second-guessing every click, convinced I was one wrong button away from sending my hard-earned ETH into the digital void. Even though I had followed all the instructions carefully, the anxiety was real!
Fast forward to 2025, with Web3 adoption exploding and DeFi 3.0 platforms becoming mainstream, moving assets between exchanges and wallets is something millions do daily. Yet I still see the same questions and anxiety in crypto communities that I had when starting out!
Whether you're trying to access the latest AI-powered DeFi protocols, join one of the new cross-chain NFT marketplaces that launched this year, or just want true ownership of your digital assets, this guide will walk you through transferring crypto from Binance to your MetaMask wallet—without the cold sweats and panic I experienced. Even those who trade Bitcoin and other cryptocurrencies regularly can benefit from these step-by-step instructions for a successful transfer.
Understanding What Binance and MetaMask Are
Before we dive into the transfer process, let's quickly break down what we're working with:
Binance
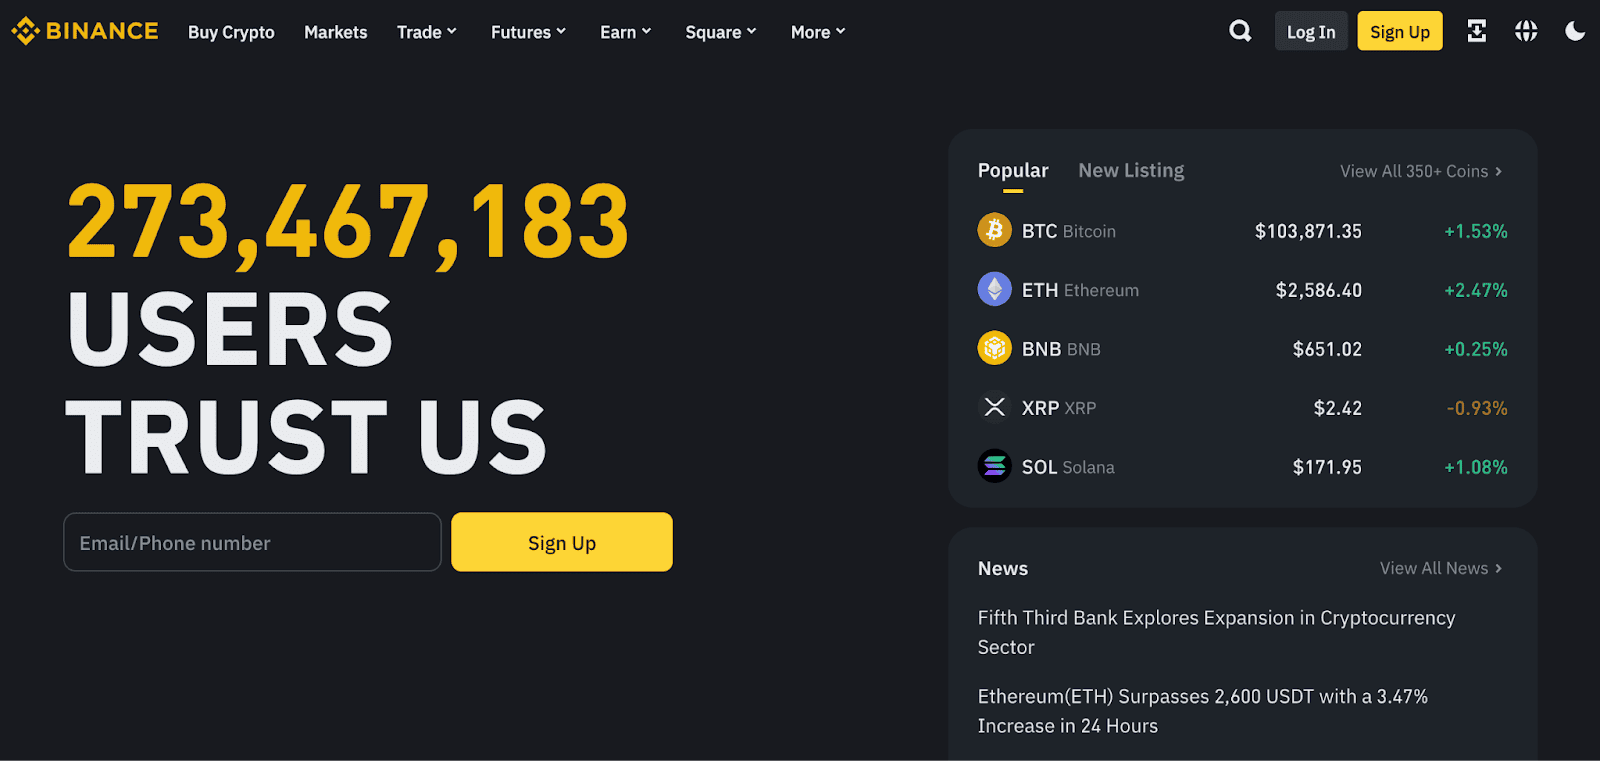
Binance homepage featuring a bold headline claiming over 273 million users, a crypto price sidebar with real-time values for BTC, ETH, BNB, XRP, and SOL, and a prominent email sign-up field for new users
Binance is essentially the Walmart of crypto exchanges—massive selection, competitive prices, and pretty much everywhere. It's where many of us first buy our crypto, but it's important to remember:
When your assets are on Binance: The exchange holds your crypto for you (not ideal for the "not your keys, not your coins" crowd).
I used Binance for nearly a year before realizing that having complete control over my assets meant moving them to a self-custody wallet. That's where MetaMask enters the picture.
MetaMask Wallet
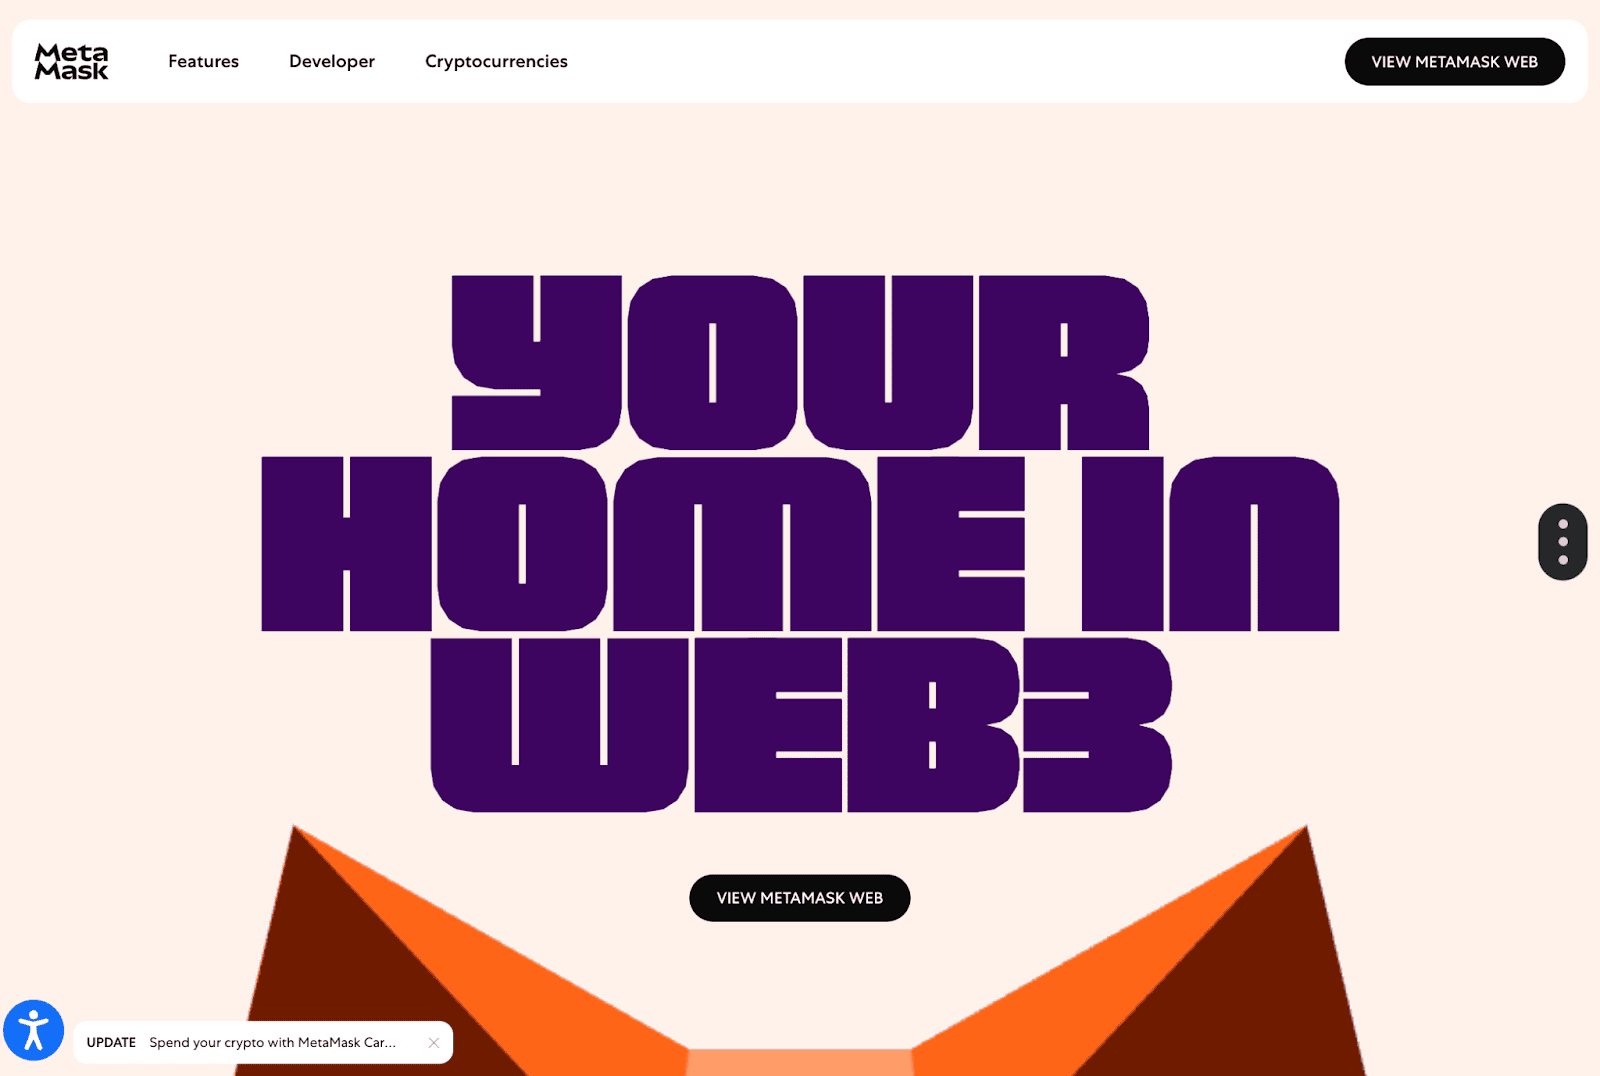
The MetaMask homepage showcases the wallet as a gateway for managing crypto assets and accessing the decentralized internet
MetaMask functions as your digital passport to the entire crypto ecosystem—a powerful interface that masks incredible complexity behind a friendly fox logo.
It's a browser extension and mobile app that lets you:
- Store your crypto (where YOU control the private keys ✅)
- Connect to decentralized applications (dApps)
- Interact with different blockchain networks
- Swap tokens directly within the wallet
My "aha" moment with MetaMask came when I realized it wasn't just a wallet but a gateway to the entire Web3 ecosystem. Suddenly, DeFi protocols, NFT marketplaces, and blockchain games were all accessible through this little fox icon in my browser.
How to Transfer Crypto from Binance to MetaMask
Let me walk you through this process step-by-step, with all the details I wish someone had explained to me the first time around.
Step 1: Set Up Your MetaMask Wallet Correctly
First things first—you need a properly configured MetaMask wallet to receive your funds.
Installing and setting up MetaMask:
- Visit metamask.io or search for "MetaMask" in your browser's extension store
- Follow the installation process
- Create a new wallet or import an existing one
- WRITE DOWN YOUR SEED PHRASE AND KEEP IT SAFE (I cannot stress this enough!)
🚨 Personal note: I once wrote my seed phrase on a sticky note "temporarily" and nearly had a heart attack when I couldn't find it the next day. Don't be like me—store it properly from the beginning! Check out MetaMask’s security guide for best practices.
Once your MetaMask account is set up, you'll need to make sure it's configured for the right network. By default, MetaMask connects to the Ethereum mainnet, but you might want to use other networks like Binance Smart Chain (BSC) for lower fees.
Step 2: Add the Binance Smart Chain Network to MetaMask
If you're planning to transfer BNB or other BEP-20 tokens, you'll need to add the Binance Smart Chain to your MetaMask wallet:
- Open your MetaMask and click on the network dropdown at the top
- Select "Add Network"
- Either search for "BNB Smart Chain" or manually add the details:
Network Name: BNB Smart Chain
New RPC URL: https://bsc-dataseed.binance.org/
Chain ID: 56
Symbol: BNB
Block Explorer URL: https://bscscan.com
I learned this the hard way—sending tokens to the wrong network can mean they're either inaccessible or potentially lost forever. Always check your network settings before completing any transfers!
Step 3: Find Your MetaMask Address
Now you need to grab your MetaMask wallet address to tell Binance where to send your crypto:
- Open your MetaMask wallet
- Your public address appears at the top (looks like 0x123...abc)
- Click on it to copy your address to the clipboard
✅ Pro tip: I always send a small test amount first, especially when using a new deposit address. The minor fee is worth the peace of mind! This applies whether you're transferring Bitcoin, ETH, or any other cryptocurrency.
Step 4: Log Into Your Binance Account and Initiate the Withdrawal
Time to head over to Binance:
- Login to your Binance account
- Navigate to the "Wallet" section, then "Fiat and Spot" on your Binance dashboard
- Find the crypto you want to withdraw and click "Withdraw"
- Paste your MetaMask address in the "Address" field
- Critical step: Select the appropriate network that matches your MetaMask setup
I've included a screenshot below of what this typically looks like on the Binance withdrawal page:
[Note: This would be where a screenshot of the Binance withdrawal interface would appear]
This network selection is super important! Here's what I mean:
- Sending ETH or ERC-20 tokens? Choose the Ethereum (ERC20) network
- Sending BNB or BEP-20 tokens? Select the BNB Smart Chain (BEP20) network
❌ Common mistake: I once sent BNB using the Ethereum network because I wasn't paying attention. Don't do this! Your tokens might show up eventually with some technical guidance, but it's a headache you don't need.
Step 5: Complete the Transfer Process
Almost there! Now:
- Enter the amount you want to withdraw
- Check the network fees (this varies by network—Ethereum generally has higher gas fees than Binance Smart Chain)
- Review all transaction details (I triple-check the first and last few characters of the withdrawal address)
- Confirm the withdrawal
Binance will likely have some security steps here—SMS verification, email confirmation, etc. These are good things! Security is your friend in crypto.
After you confirm, Binance will process your withdrawal. Depending on network congestion and the cryptocurrency you're transferring, this could take anywhere from a few seconds to several minutes (or occasionally longer). Depending on the time of day and overall blockchain activity, even Bitcoin transfers can sometimes take longer than expected.
Step 6: Verify the Transaction and Check Your MetaMask
Now comes the part where I used to refresh compulsively—waiting for funds to arrive!
- In your MetaMask wallet, make sure you're on the correct network where you expect to receive the funds
- Look for your transferred crypto to appear in your balance
If your tokens don't appear immediately:
First, don't panic! (I've been there, frantically Googling "Where are my tokens?!" at 2 AM.)
Check the transaction status on Binance—it might still be processing. You can also verify the transaction details on a blockchain explorer:
- For Ethereum transactions: Etherscan
- For Binance Smart Chain: BscScan
Just paste your wallet address or transaction hash to see what's happening.
Step 7: Adding Custom Tokens to See All Your Assets
Sometimes, you've done everything right, but your tokens still don't appear in MetaMask. This is often because you need to manually add the custom token to your MetaMask wallet:
- Open MetaMask and ensure you're on the correct network
- Scroll down and click "Import tokens"
- For popular tokens, search by name
- For less common tokens, you'll need the token contract address (find this on the Blockchain Explorer)
I keep a little document with contract addresses for my favorite tokens to make this easier.
Common Issues When Transferring Crypto from Binance to MetaMask
Let me share some problems I've encountered (so you don't have to learn the hard way):
Wrong Network Selected
The problem: Sending tokens on one network when your MetaMask wallet is configured for another.
What happens: Your tokens are sent correctly but don't appear in your wallet because you're "looking" on the wrong network.
The fix: Switch to the appropriate network in MetaMask. If you sent, for example, USDT on Binance Smart Chain, make sure to switch to the BSC network in MetaMask.
Insufficient Gas for Transactions
You might get your main token transferred successfully but then find you can't do anything with it because you need the network's native token to pay for gas fees.
For example, if you transfer USDT to MetaMask on the Ethereum network, you'll need some ETH to pay gas fees when moving that USDT later.
✅ My approach: I always make sure I have some of the native tokens (ETH for Ethereum network, BNB for Binance Chain) in my wallet for gas fees.
Bridging Between Networks
What if you sent tokens to the "wrong" network and want to move them?
This is where bridges come in—tools that help you transfer tokens between compatible networks. Some popular options:
- Binance Bridge
- Multichain
- Synapse Protocol
I've used these several times when I needed to move assets between chains. They typically charge a small fee, but it's worth it for the convenience.
Making the Most of Your MetaMask Wallet After the Transfer
Now that your assets are in your MetaMask wallet, what can you do with them?
Connect to DeFi Platforms
Your MetaMask wallet is your ticket to the world of decentralized finance. You can:
- Provide liquidity on decentralized exchanges
- Earn interest by lending your crypto
- Participate in yield farming
I started with simple token swaps on Uniswap and gradually explored more complex DeFi strategies as I got comfortable.
Manage Multiple Networks
Don't limit yourself to just Ethereum or Binance Smart Chain—MetaMask supports many EVM-compatible networks, including:
- Polygon
- Avalanche
- Optimism
- Arbitrum
Each offers different dApps, fee structures, and opportunities. I personally use Polygon a lot for its lower fees.
Security Best Practices
Now that your assets are truly yours, security becomes even more important:
- Consider getting a hardware wallet for extra security
- Never share your seed phrase with anyone (not even "support" people who DM you)
- Be careful what dApps you connect to
I learned to be extremely selective about what I connect my main wallet to—I even have a separate "experimental" wallet with limited funds for trying new platforms.
Closing Thoughts
Moving your assets from Binance to MetaMask is about more than just changing where your crypto lives—it's a step toward true financial sovereignty.
Yes, it comes with more responsibility, but also more freedom. The ability to connect directly to dApps, participate in governance voting, and control your private keys is what crypto was designed for.
I remember how intimidating this process seemed at first, but now it's second nature. And trust me, if I can figure it out (someone who once accidentally sent $5 worth of ETH with a $50 gas fee 🤦♂️), you absolutely can too!
Take it step by step, always double-check your addresses and network selections, and soon you'll be navigating the crypto world with confidence.
Frequently Asked Questions
No, MetaMask primarily supports Ethereum and other EVM-compatible networks like Binance Smart Chain. You can transfer ETH, BNB, and tokens built on these networks, but not coins with their own blockchains like Bitcoin or Cardano.
By default, MetaMask only connects to the Ethereum network. Adding Binance Smart Chain allows you to interact with BEP-20 tokens and dApps on BSC, which typically offer lower fees than Ethereum.
If you send tokens to the correct address but on the wrong network, they may still be accessible by switching networks in MetaMask or using a bridge solution. However, sending to an entirely incorrect wallet address usually means the funds are lost.
Check which standard your token follows: ERC-20 tokens require the Ethereum network, BEP-20 tokens need the Binance Smart Chain network. Binance usually provides network options during withdrawal—select the one that matches your MetaMask configuration.
Yes, all blockchain transactions require fees. When withdrawing from Binance, the exchange typically charges a withdrawal fee that includes the network gas cost. Additionally, once tokens are in your MetaMask wallet, you'll need the network's native token (ETH for Ethereum, BNB for Binance Smart Chain) to pay gas fees for future transactions.
Disclaimer
This article is provided for informational purposes only and does not constitute legal, financial, or professional guidance. All content is based on publicly available information and personal opinions. Readers are advised to seek professional support before making decisions or acting based on the material presented. The author and publisher assume no liability for any actions taken or not taken by the reader based on the information contained herein.


 15 min584
 12 min390
 8 min849
 15 min1.3K
 12 min1.3K
 14 min1K
 29 min704
 22 min1.6K
 17 min1.4K
 12 min66715 min58412 min390